
Set up automatic backup of OPNsense configuration files to google drive.
1. Set up Google Account
2. Set up a Google Project
First you need to set up a project in the Google developer console.
Go to the developer console and log into your Google account.
On the “Manage resources” page that appears, click on the + CREATE PROJECT button:

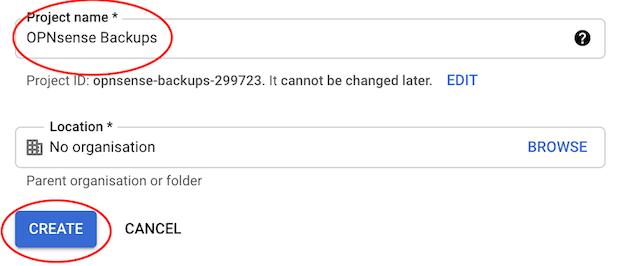
On the next page enter a name for your project, for example “OPNsense Backups”. You may leave it as the default name (“My Project #####”), as it does not really matter. Then click on the CREATE button:
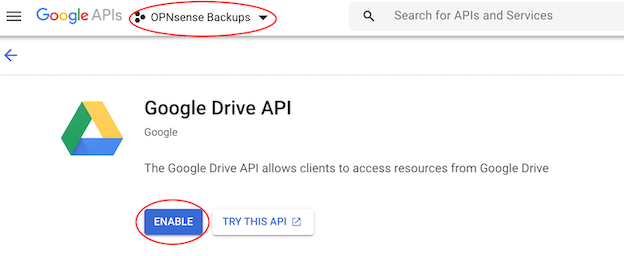
Now enable the Google Drive API for your project. In the search bar at the top of the page, search for “Google Drive API” and click on the corresponding search result:

On the next page, make sure your project name (for example “OPNsense Backups”) is displayed at the top of the page – if not, select it in the dropdown. Then click the ENABLE button:
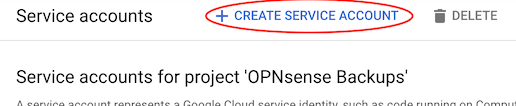
Now create a service account for your project. In the search bar at the top of the page, search for “service accounts” and click on the corresponding search result:

Click on the + CREATE SERVICE ACCOUNT button:
Enter an account name (for example “OPNsense”) and a description (for example “OPNsense Backups service account”), then click the CREATE button:

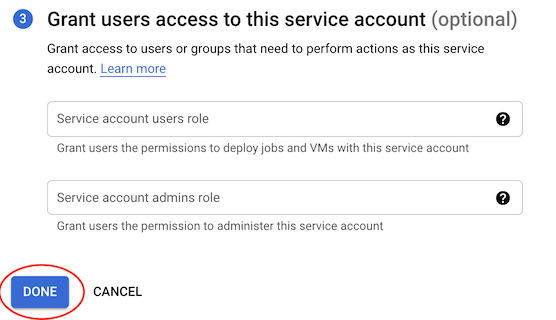
Click the CONTINUE button on the next page:

Then click the DONE button:
On the next page, take a note of the email address for your new service account – you will need it later. Then click on the three vertical dots under the Actions heading for your service account, then click on Create key:

In the popup screen, select P12, and click CREATE:

You will be prompted to download the key. Do so, and then click CLOSE in the popup screen.
Now click on the newly created Service Account:

Write down the Unique ID of the Service Account. This ID will be your Client-ID in the OPNSense Google Drive backup:

3. Set up a Google Drive folder
The next thing is to create a folder in Google Drive and share it to the service account you’ve just created.
- Go to https://drive.google.com. You should be still logged into your Google account, otherwise log in.
- Click + New (upper left of the screen) and select Folder in the dropdown menu that appears:

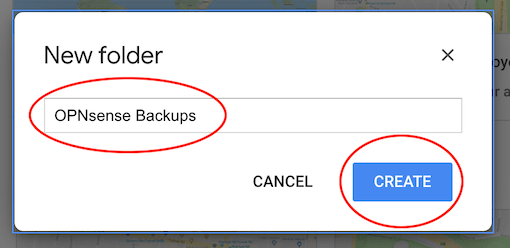
Enter a name for the folder (for example “OPNsense Backups”, it doesn’t really matter) and then click the CREATE button:
Right-click the newly created folder and click Share in the dropdown menu that appears:

Paste the email address for the service account into the “Add people and groups” box, press Enter and then click the Send button that appears:

Now double-click on the folder to open it and take a note of the folder ID from the URL – you will need it later. The folder ID is the last piece of the URL after /folders/:

4. Set up the account in OPNsense
1. Log into your OPNsense firewall and go to the backup feature. It is located at System > Configuration > Backups.
2. Scroll down to the Google Drive section and and enter the following values:
| Enable | checked |
| Email Address | enter the Unique ID number of the service account you created |
| P12 key | click the Choose file button and select the P12 key you saved earlier to upload it |
| Folder ID | paste the Google Drive folder ID that you copied earlier |
| Prefix hostname to backupfile | checked or unchecked as desired (useful if you have multiple OPNsenses) |
| Backup Count | enter the number of backups you want to keep |
| Password | choose a strong password to encrypt the backup |
| Confirm | re-enter the strong password |
3. Then click the Setup/Test Google Drive button. OPNsense will automatically save and test your settings and you will receive either an error (connectivity issues) or a message saying “Backup successful” with a list of files currently in the backup.
The moment the feature is enabled, it will do a daily compare of the last file in backup and the current configuration and create a new backup when something has changed.
Results:

Source
