
In any managed site, there is a need to efficiently and effectively manage the settings common to a particular class of machine. In Centreware Web, you can create policies and associate configuration sets with these policies. This can significantly aid in conformance stability, especially in a large fleet of devices and/or where there is a high level of device Moves, Adds or Changes.
Centreware Web Configuration Sets provide the tool to record and maintain templates of device configuration settings. These configuration settings include:
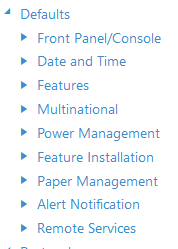
• Asset Defaults
• Protocols
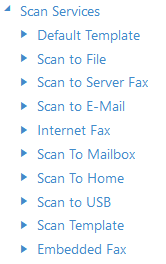
• Scan Services
• Security
• Job Accounting
Note: You can create a Configuration Set using a mix of device settings. Example: A Configuration Set can include a combination of some Protocol, Security, and Network Scanning settings.
Recommended Usage:
- Apply policies to groups and monitor them for compliance and remediation in the dashboard.
- Use the Check Configuration Set to confirm which settings need to change and which should remain. There might be specific printers that require settings that are different from standards; individual requirements should be confirmed.
- Test the configuration. Apply the Configuration to one device while that printer status is visible.
- Confirm that the outcome of the new device settings is as expected. Different firmware levels in the same product family might behave differently—multiple firmware levels on the devices in the same family might suggest multiple tests.
- Apply the Configuration to a known group of printers and confirm the status and setting.
- Use the Audit Check to audit devices against defined configurations.
- Use the Audit Check /Apply Configuration to the first audit devices and then to reapply the appropriate configuration.
- Use Reset Devices to schedule a device reboot for devices selected. This does not check or apply configuration settings
Requirements:
Printer MUST have SNMP get/set configured in order to retrieve and set configuration policy.
To create a new configuration set:
1. Select Policies > Configuration > Configuration Sets.

2. In the Action menu select New and click Apply.
3. On the Identity tab, configure the Set Identity Information. Configuration Set Name is required to uniquely identify the Configuration Set.

4. Configure the settings on the following tabs: (Asset, default, protocol,etc.)


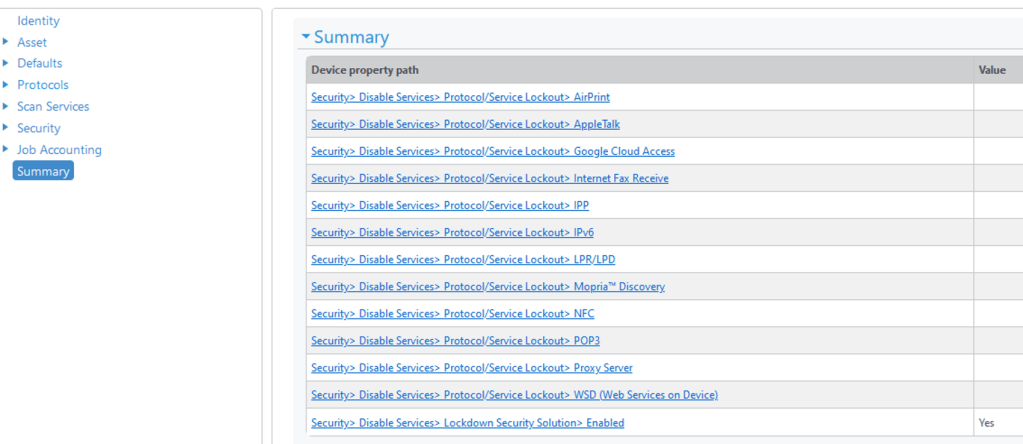
Summary: The Summary tab displays the device property path and the value set. Click on the path to go the specific feature setting.
5. Click Save. The Configuration Set is saved.
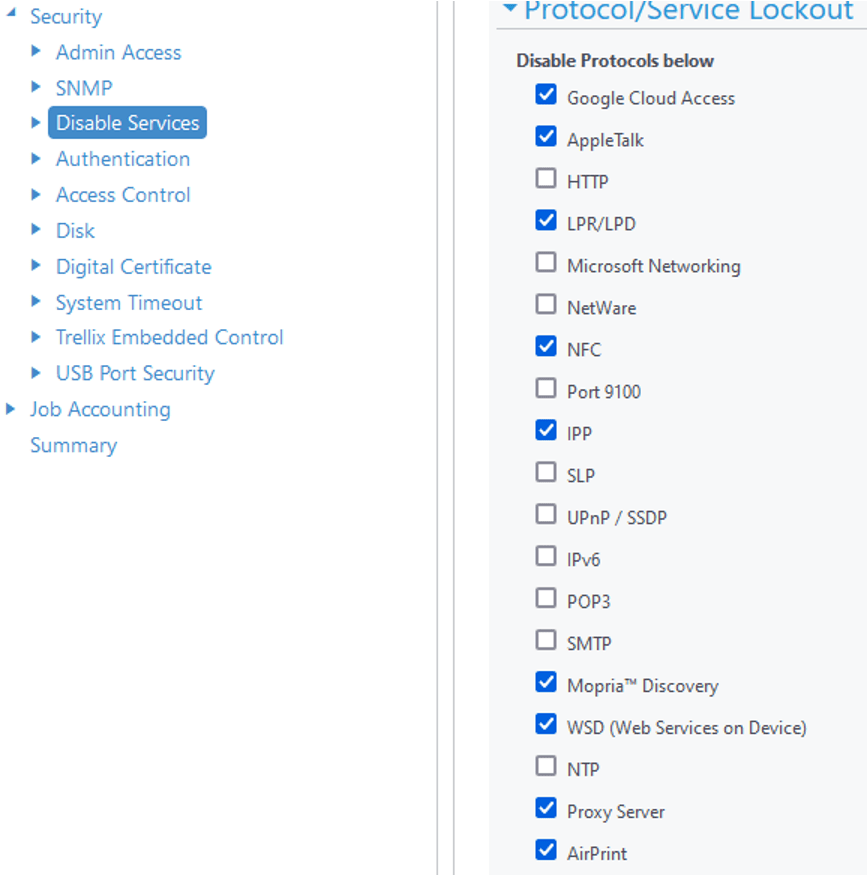
Example: Create configuration set to disable specific network protocols.
- Navigate to Policies > Configuration > Configuration Sets > name policy.
- Under security > disable services > select the protocol to disable.
- The following policy [Disable Protocol] will lock down printer and prevent users from making any changes.
Deploy Configuration set:
Once the configuration set is ready, it is time to deploy it with configuration policies
- Under policies > configuration > configuration policies > apply new policy.
- Under Identity > enable > input name
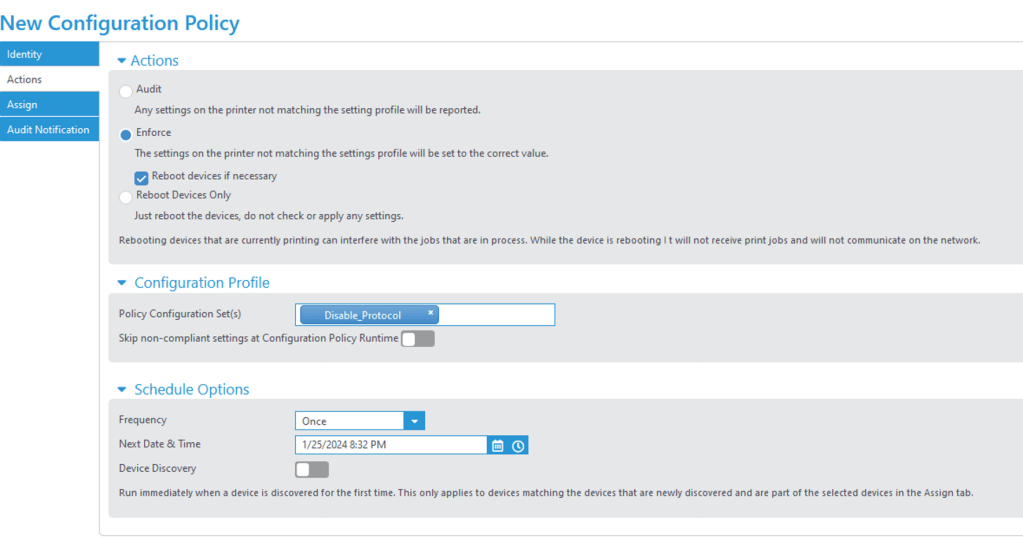
- Actions > Enforce (to deploy). Select configuration set that was created before [Disable_Protocol]
- Modify schedule
- Enable Skip non-compliant settings at Configuration Task Runtime (If skipped, device might not show 100% compliance)
- The policy can also be set to trigger when device is first discovered if [Device discovery] is on.
**If you select Skip non-compliant settings at Configuration Task Runtime, at runtime the task will compare all settings in the configuration set against the Compliance Database in Centreware Web and ignore settings that are not compliant for each individual device. Skipped settings will be logged in the task and policy results tabs. Skipped settings will not be counted against policy compliance on the dashboard screens.
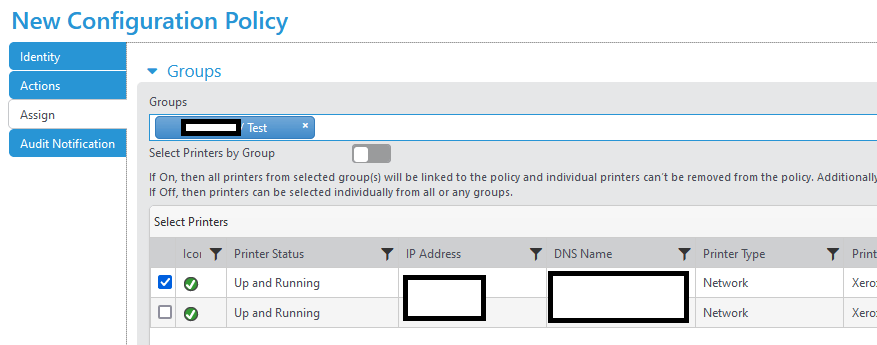
7. Assign to a group [If admin want to apply policy per printer– turn off Search printer by group]
** Set the admin credentials under [Device Admin Password] to in order for printer to set changes.
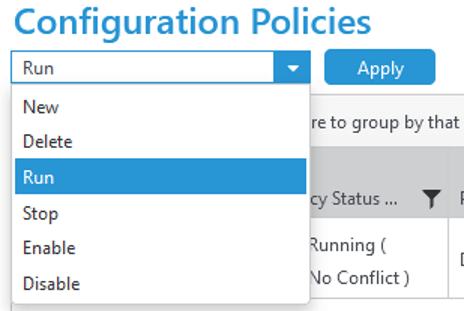
8. To trigger manually > Select Run and hit apply under configuration policies. Once it finishes processing, an verification email will be sent.

Results:
- Do Note that not ALL xerox printers support the settings by Xerox Centreware configuraton policy


Note:
SNMP configuration set (Set the SNMP read/write string on device. Device must have SNMP read first so it can be discovered then policy can apply). The results from the configuration displays a warning state, unable to retrieve the policy.

If the report states that it failed, most likely the device does NOT have the settings for it to be enabled even if SNMP set string is correct.

