In this post, lets review a custom/managed connector in logic app that will be used for the new hire project. The SharePoint Online Connector for Azure Logic Apps allows workflows to integrate directly with SharePoint Online sites, document libraries, and lists. It provides automated, low-code triggers and actions to manage content, perform operations on files and list items, and automate business processes without writing custom API code.
Triggers (what fires up the entire workflow):
Triggers instantiate a Logic App workflow based on specific events occurring in SharePoint:

 • Item Level Triggers: Fires when a list item is created, modified, or deleted (e.g., When an item is created, When an item or file is modified).

 • File & Library Triggers: Fires when documents are added, updated, or removed in a document library (When a file is created or modified, When a file is deleted).

 • Change Tracking: Supports tracking specific column-level modifications using change tokens via actions like Get changes for an item or a file.

Actions: Every step that follows the trigger (Get list, Grant access, Update/create/add item from sharepoint)
| Category | Typical Connector Actions |
| List Items | Get item, Get items, Create item, Update item, Delete item. |
| Files & Documents | Get file content, Create file, Update file content, Get file metadata, Delete file. |
| Permissions & Sharing | Grant access to an item or a folder, Stop sharing an item or a file, Create sharing link. |
| HTTP / Custom Calls | Send an HTTP request to SharePoint (allows calling any SharePoint REST API endpoint directly with existing credentials). |

Authentication & Connectivity
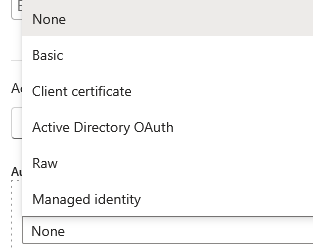
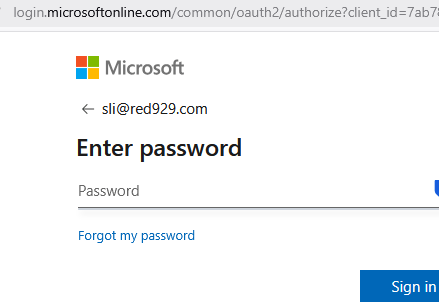
- OAuth 2.0 : Supports connection authorization via user accounts (Delegated Permissions) with access token – Interactive login ONLY
- Hybrid / On-Premises Access: Can connect to on-premises SharePoint Server environments when routed through an On-Premises Data Gateway.
- Alternative: App-Only or Managed Identity Access- Use HTTP action to make API calls to Microsoft graph targeting sharepoint. This method can utilize service principal and managed identity and various different authentication flow to grab data from sharepoint.
Example: (When an item is created) & (Get item)
A basic example of creating a trigger and action workflow for sharepoint. This flow grabs items from sharepoint when its created but each have their own different approach and limitations. BOTH the trigger and action can grab new items when its created on sharepoint, whichever one you choose to use is up to preference.
Trigger: When a new item is created for that specific sharepoint list, fire up the workflow. The sharepoint trigger polls the sharepoint site: /userlist/newhire for any new items.

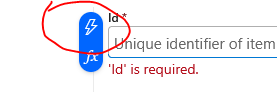
Action: Get item (Grab any values visible in columns from the sharepoint list). Once the trigger fires, the action starts. If the”thunderbolt” icon is select – there is a list of items from the sharepoint site to choose from. Note that this action only allows to grab a specific record with unique ID tied to that item.

Authentication method: (OAuth2)
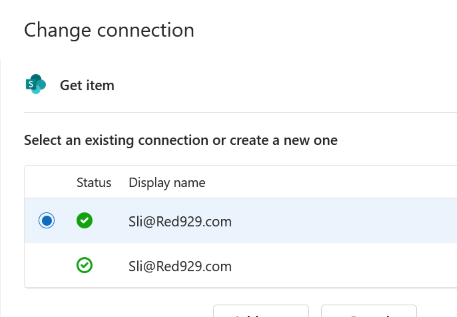
Flow:

Output:
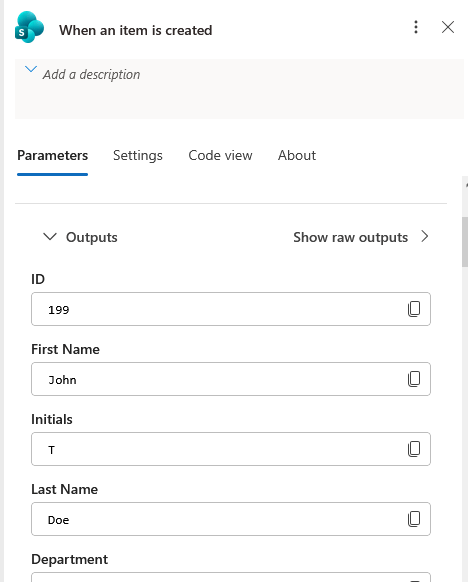
Trigger [When an item is created] will show ALL the items submitted via the sharepoint list. Actions can refer to this trigger if it wants to utilize the dynamic content of items shown here (First name, Last name, ID, etc..)
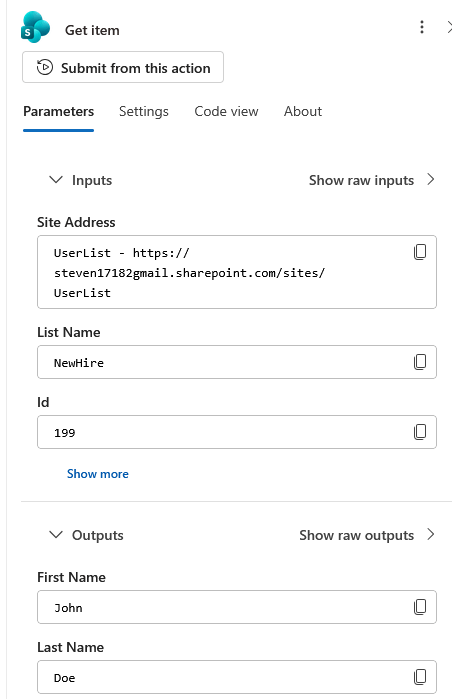
Action [Get item] will get up to 12 columns in the sharepoint list. The action show targets the ID dynamic content from the trigger. This action is just another way to grab items from sharepoint.

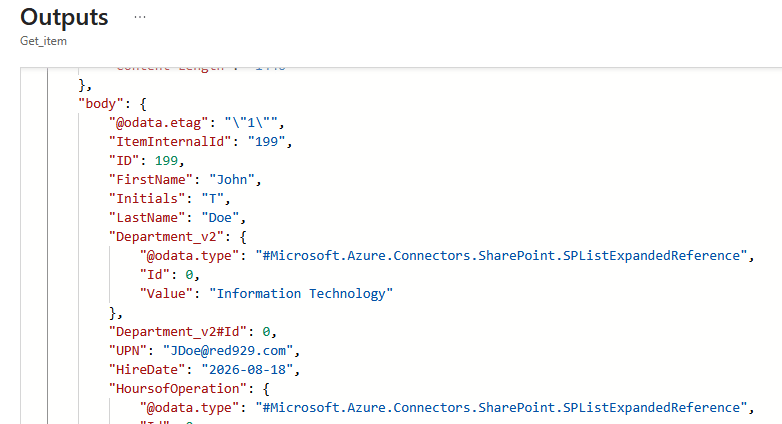
Raw output
Troubleshoot
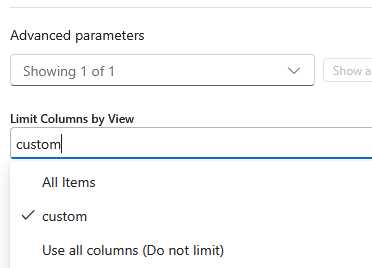
Action [Get item] is limited to lookup of 12 columns from sharepoint list. Since there is a max of 12 columns to grab from, its recommended to create a custom view of the sharepoint list. If the list default view is more than 12 columns, it will error out with the following error:
"status": 400,
"message": "The query cannot be completed because the number of lookup columns it contains exceeds the lookup column threshold.\r\nclientRequestId: 0b357339-b7ef-4959-9fae-adeaab51fb6c\r\nserviceRequestId: a18632a2-906f-a000-0b9b-fe9b2a7fa5be"
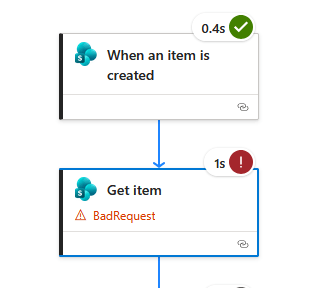
Resolution: Create custom view for the targeted sharepoint site then select “Limit columns by view” for the action and select the custom view.