
In this post, we will walk through how to properly provision Active Directory accounts in a hybrid environment. Using a lab environment configured with an on-premises Exchange Server and a Domain Controller, we’ll demonstrate how to create both the user account and the on-premises mailbox in a single step using the Exchange Admin Center (EAC) PowerShell command line.
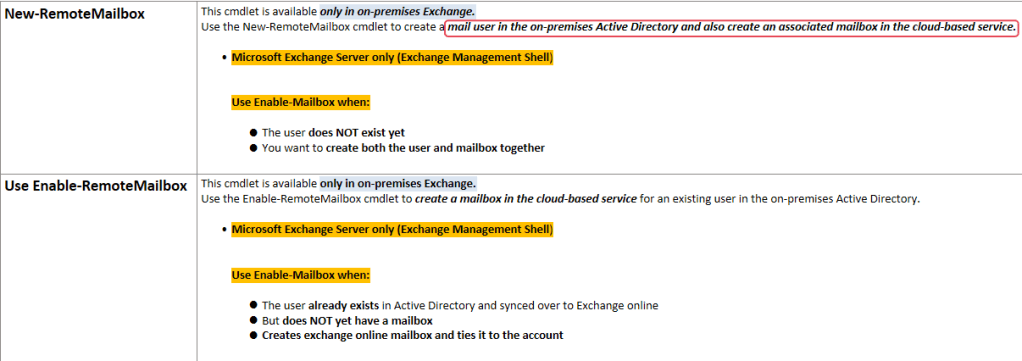
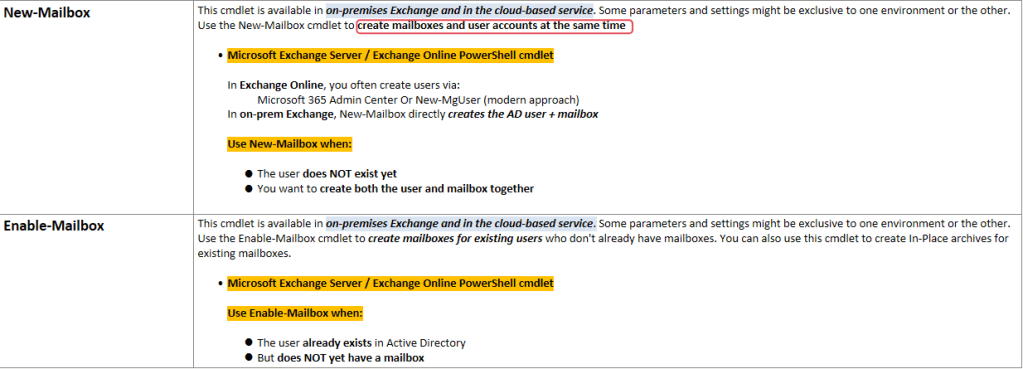
Instead of using AD module commands like “New-ADUser” to provision the account, we will use EAC command line to create the mailbox AND the account at the same time. There are few different options available:
Prerequisites:
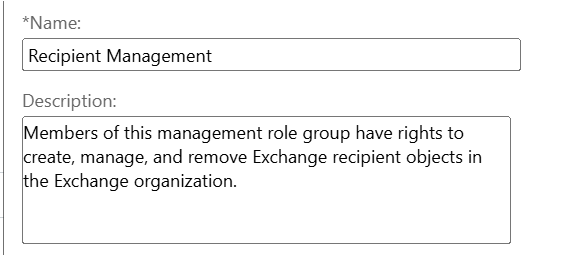
Exchange Admin Role: Before running EAC command to provision mailbox – the following role, Recipient Management or Organization Management. must be granted to the service account executing the command.
To configure roles for a service account [SVC_AD_Provision_01]:
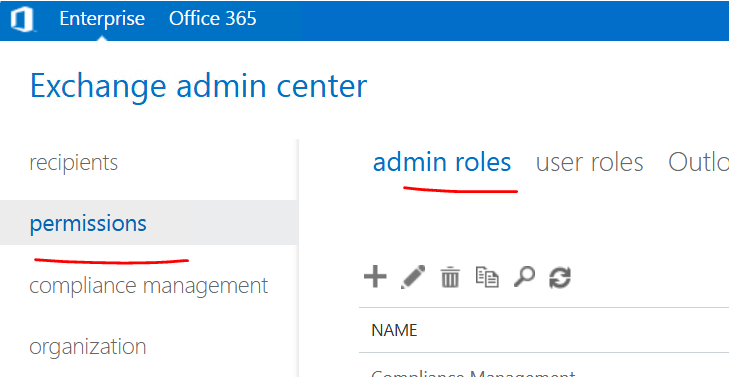
EAC > permissions > admin role > Recipient Management > add user > hit save
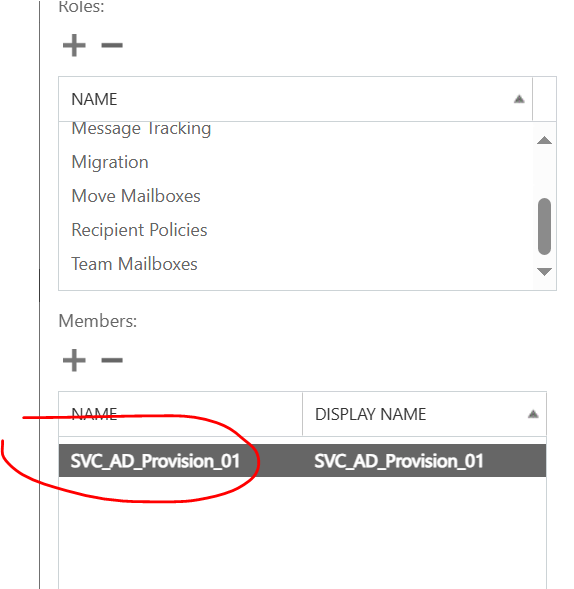
Environment access: The service account also requires rights to execute EAC commands using Exchange management shell in a remote session.
PowerShell remote session to exchange management shell:

•Verify if user has remote access:
Get-User -Identity "SVC_AD_Provision_01" | Format-List RemotePowerShellEnabled

•Enables remote access with the command:
Set-User "SVC_AD_Provision_01" -RemotePowerShellEnabled $true

•Get list of all users with permission to remote access
Get-User -ResultSize unlimited | Format-Table Name,DisplayName,RemotePowerShellEnabled -AutoSize
Create the mailbox and account
Create the AD and mailbox from an established PS session with the command “New-RemoteMailbox”
Grab the connection url from here EAC > Virtual directories > Powershell (*If internal/external url has “webmail” and it encounters error – replace the powershell url with the server name.)
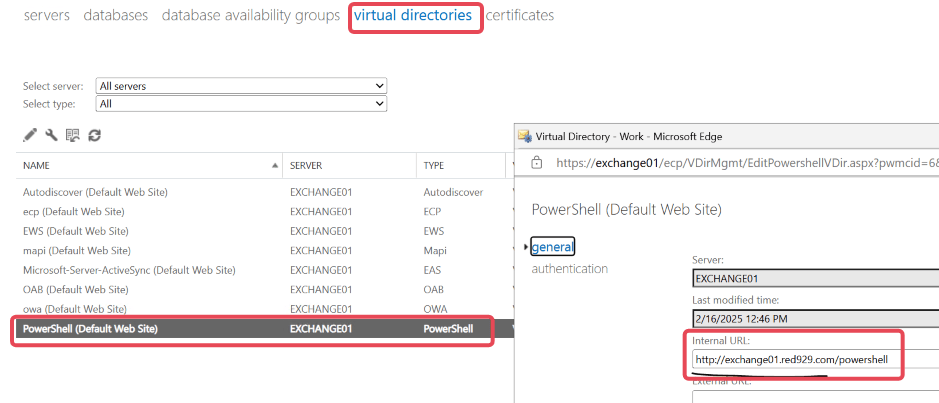
#Scriptblock to remote into exchange management shell:

#########################################

### Logs into management shell ###

$UserCredential = Get-Credential

$Session = New-PSSession -ConfigurationName Microsoft.Exchange -ConnectionUri http://exchange01.red929.com/powershell -Authentication Kerberos -Credential $UserCredential

Import-PSSession $Session -DisableNameChecking

#########################################

### Create User mailbox - use cmdlet "New-RemoteMailbox" ###

New-RemoteMailbox -Name "Test Mailbox_02" -FirstName "Test" -LastName "Mailbox2" -UserPrincipalName "Test.Mailbox2@red929.com" -RemoteRoutingAddress "Test.Mailbox1@red929.mail.onmicrosoft.com"

#########################################
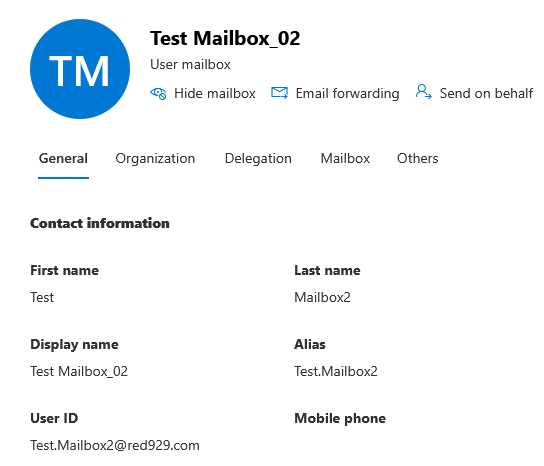
Results: The mailbox and AD account gets created and sync over to exchange.

Automate the process with Azure automation runbook hybrid worker group
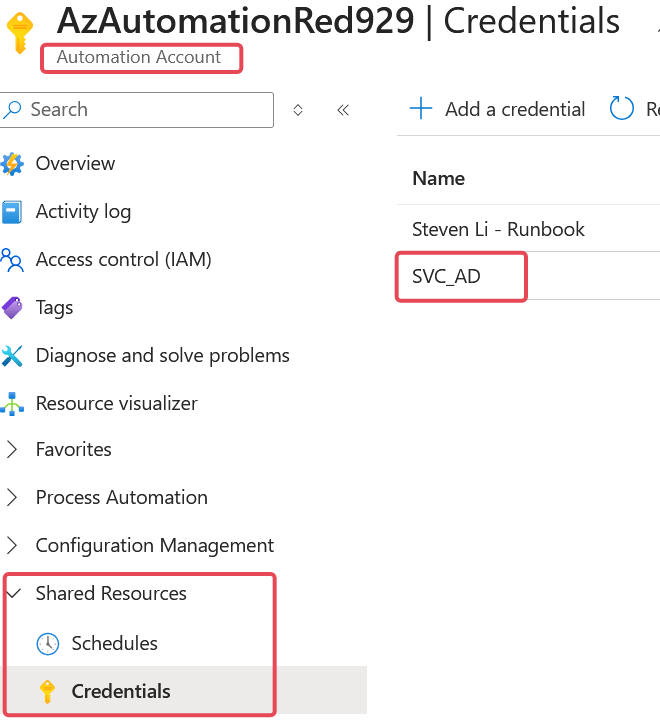
Option 1: Get credential using Azure automation account credential asset from runbook script.
<# Runbook Script:
--------------------------
Goal:Connect to Exchange management shell to create and mailbox+ AD user.
*Script intended for azure runbook with hybrid worker group
--------------------------
Credentials is configured under shared resource in the automation account. AD service account creds can be passed on via $Credential
--------------------------
#>
########################################
# Get the credential asset
$credential = Get-AutomationPSCredential -Name 'SVC_AD'

########################################
# Logs into management shell with ps session
$Session = New-PSSession -ConfigurationName Microsoft.Exchange -ConnectionUri http://exchange01.red929.com/powershell -Authentication Kerberos -Credential $credential

Import-PSSession $Session -DisableNameChecking

########################################
# Create User mailbox - use cmdlet "New-RemoteMailbox"
$password = (ConvertTo-SecureString -String 'Password16178!!' -AsPlainText -Force)

New-RemoteMailbox -Name "Test Mailbox_05" -FirstName "Test05" -LastName "Mailbox5" -UserPrincipalName "Test.Mailbox5@red929.com" -Password $password -RemoteRoutingAddress "Test.Mailbox5@red929.mail.onmicrosoft.com"
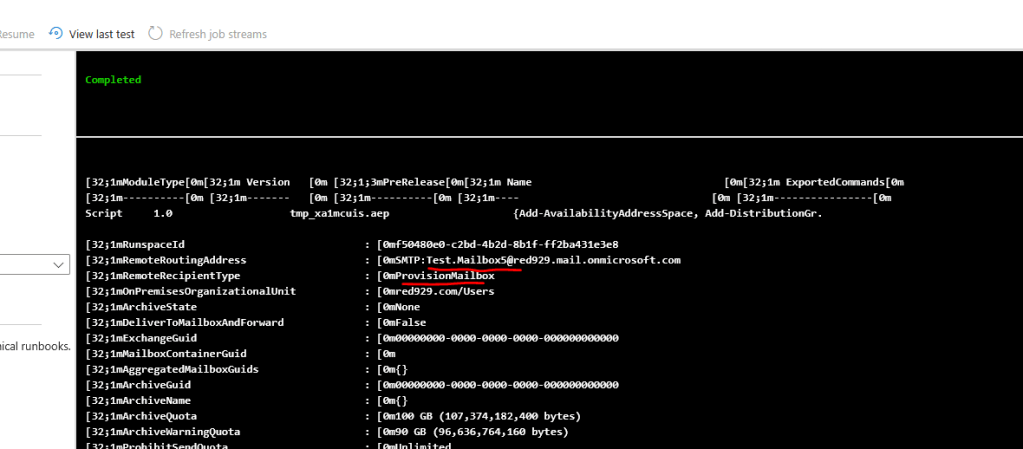
Results:
Connects to management shell without interactive prompt and creates the mailbox and AD account without issue.

 Steven’s Knowledge Base