
The following post will detail how to connect to Microsoft graph service principal via Azure Runbook. This script will only execute within azure container and not from on premise device. This method may be useful if tenant is fully migrated over to cloud instead of hybrid.
For the new hire project, I don’t use this method to connect to ms graph but it is good to know the various ways to authenticate if I did not have a on premise setup.
Prerequisites:
Before we start to connect, the following items must be met first:
• Automation account must be created.
• Download modules for runbook.
• Set up Service principal (App registration)
• Configure API permission for service principal
• Create key vault
• Generate certificate for key vault
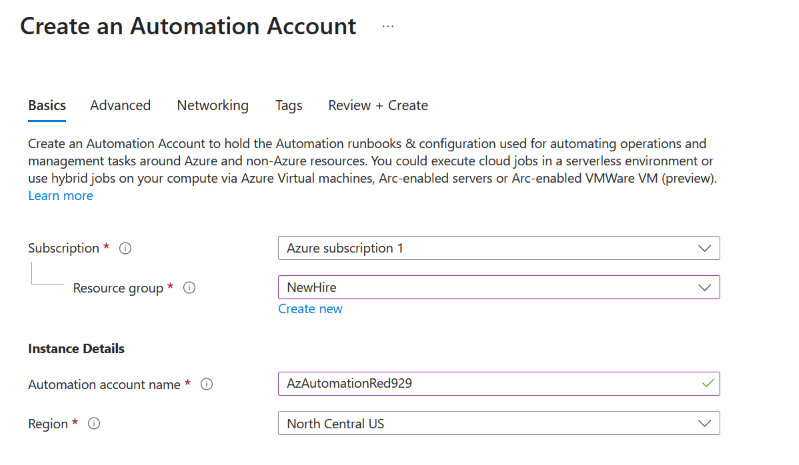
• Automation account must be created:[ /automation-accounts/]
• Download modules for runbook.[ /azure-automation-modules/]
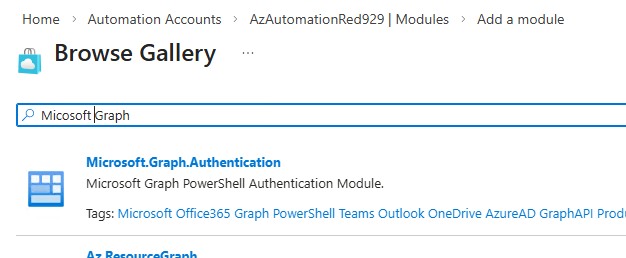
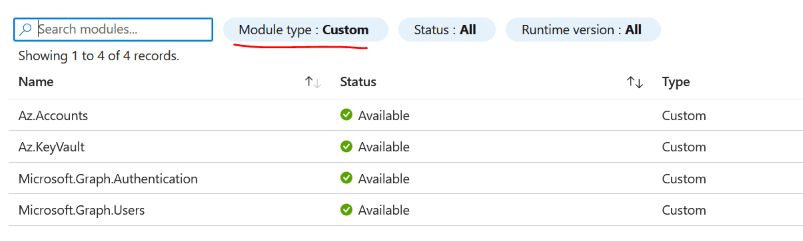
Download the following modules:
Az.Accounts
Micosoft.Graph.users
Microsoft.Graph.Authentication
• Set up Service principal (App registration) – [/service-principal-application-authentication-certificate/]
In Microsoft Entra ID (formerly Azure AD), an App Registration is the process of telling Entra ID about your application so it can handle identity and access management. Think of it as creating a “digital identity” or “blueprint” for your app.
Why do you need it?

Get a Client ID: A unique ID that identifies your app to Microsoft.
Enable Sign-in: Allow users to log in with their work, school, or personal Microsoft accounts.
Access APIs: Request permission to call services like Microsoft Graph (to read emails, calendars, etc.) or your own custom APIs.
Establish Trust: Create a "secret" or "certificate" so Entra ID knows it's really your app trying to talk to it.
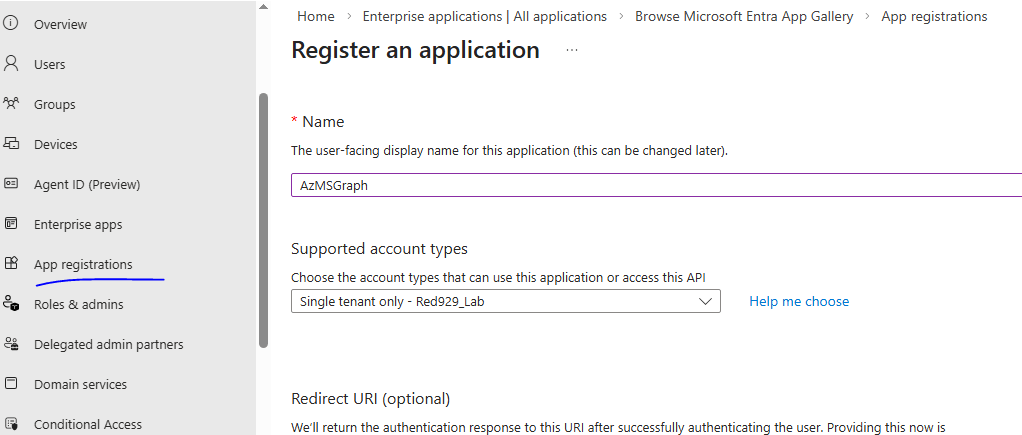
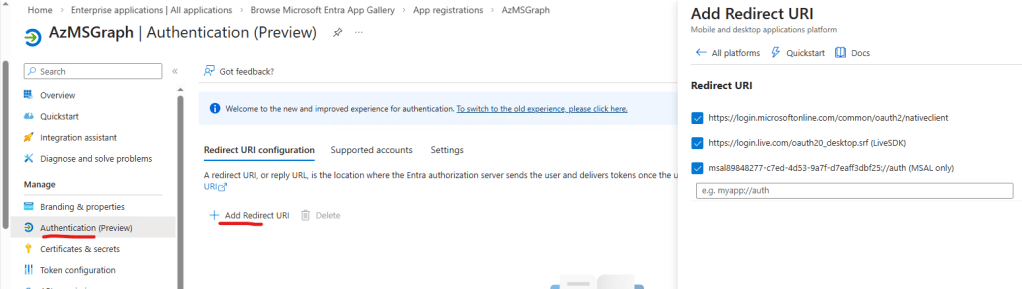
• Configure API permission for service principal – [/service-principal-application-authentication-certificate/]
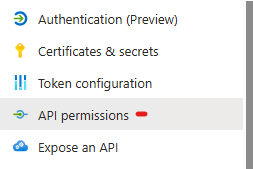
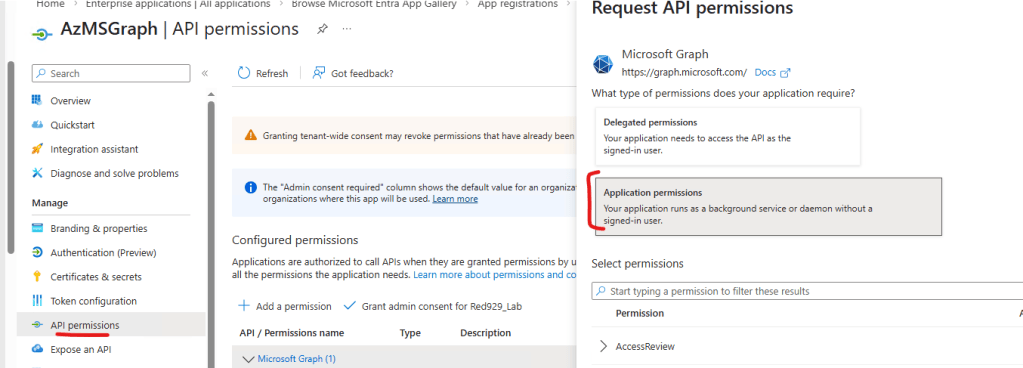
API permissions > Select application permission
- Do not use delegated permission to avoid passing credentials as user

• Create key vault – [/service-principal-application-authentication-certificate/]
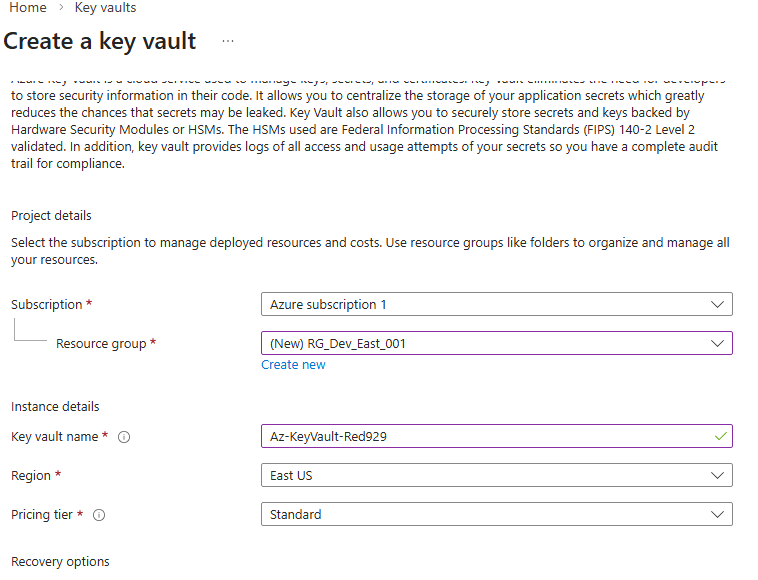
Create the key vault first
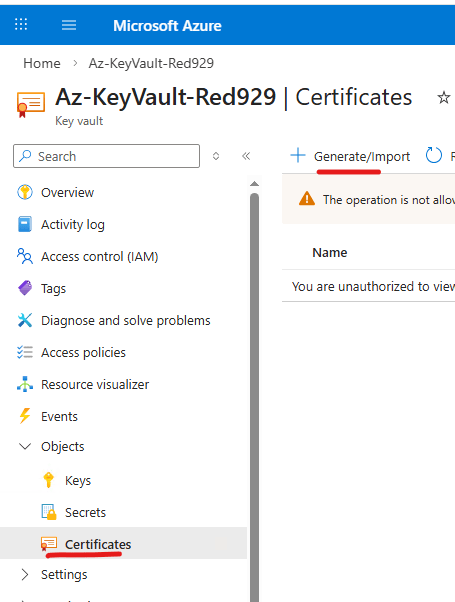
Then go to azure portal > select key value > certificate > generate
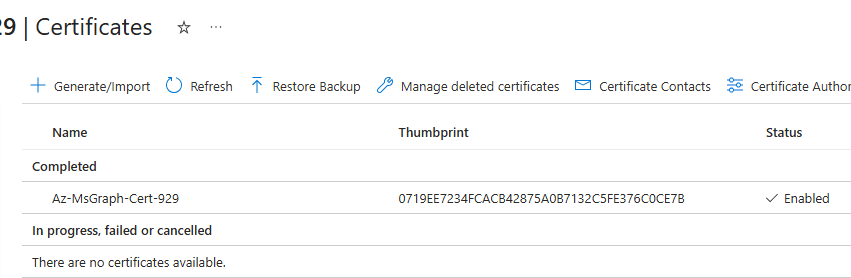
Certificate creation complete:
Once the certificate is generated, download it as .CER format.
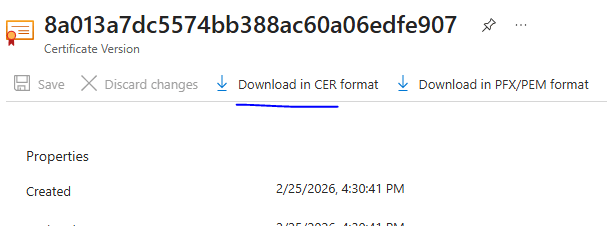
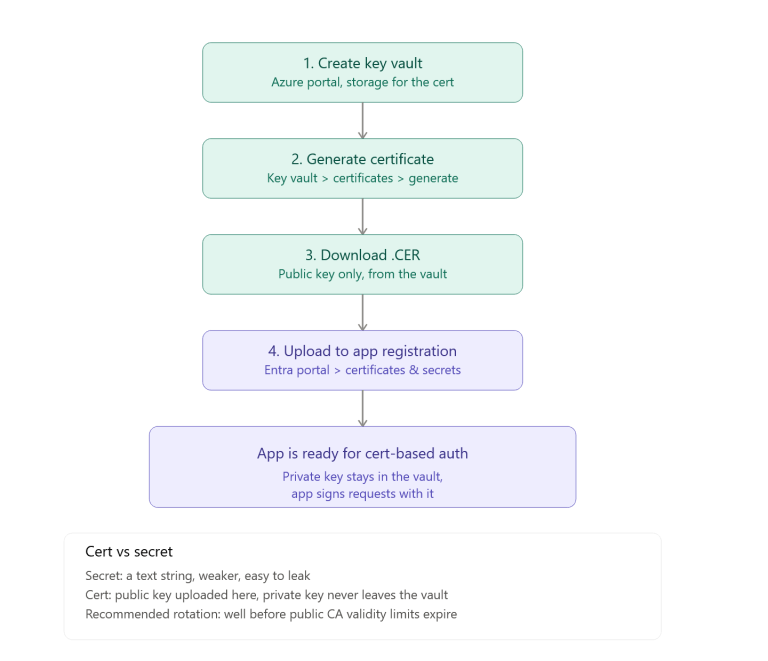
Upload the .CER file (Public Key) to application [AzMSGraph]
Go back to Entra admin portal > app registration > select app > upload the .CER file
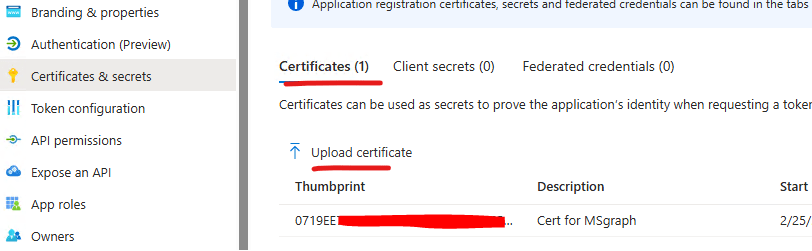
*** Important – if using certificate to authenticate via Azure Runbook – Upload the .PFX private key over to automation accounts ***
If your PFX file is not password protected (default policy doesn’t have password), you can’t use Azure portal to upload the certificate. The portal requires a password for the upload. To work around this, run the following PowerShell script, replacing the respective placeholders. Ensure you run this in PowerShell version 7 or later.
** Download the certificate in .PFX format first and save it locally before executing command.

Use the commands below to import the cert if it cannot be done via GUI:

Install-Module -Name Az.Automation
$certificateName = “AzMsGraph929”
$PfxCertPath = “C:\Users\Sli\Downloads\az-keyvault-red929-Az-MsGraph-Cert-929-20260228(1).pfx”
$ResourceGroup = “newhire”
$AutomateAccountName = "AzAutomationRed929"

New-AzAutomationCertificate -AutomationAccountName $AutomateAccountName -Name $certificateName -Path $PfxCertPath -Exportable -ResourceGroupName $ResourceGroup
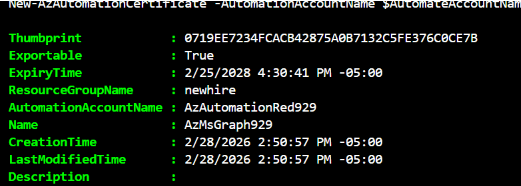
The PFX certificate is now uploaded to the Azure Automation Account certificate assets. To verify Microsoft Graph connectivity via certificate-based authentication (CBA), the Azure Runbook will authenticate using the private key from the PFX file against the [AzMsGraph] Service Principal. If the private key matches the public certificate (.CER) registered to the app registration, the authentication request will succeed.
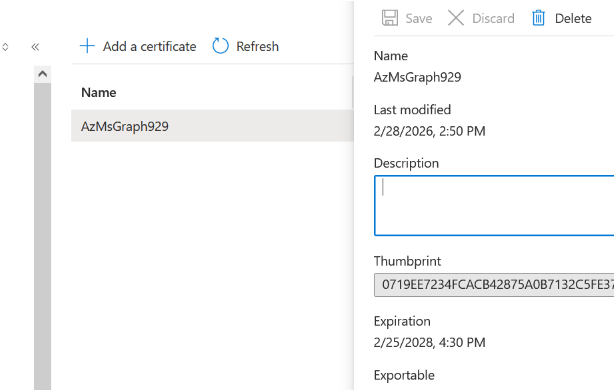
Azure runbook script:
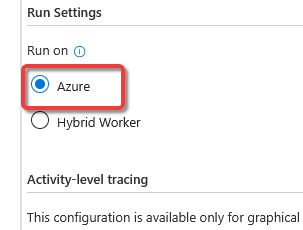
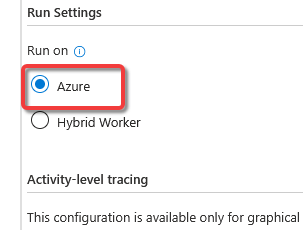
From Azure runbook – load the following command to connect to Microsoft Graph. Execute within azure container by selecting run on “Azure”
#######################################
# Begin script:

# Connect to MS Graph with certificate
Connect-MgGraph -TenantId "e43c65b2-658a-43c8-9fc8-160b307051e9" -ClientId "89848277-c7ed-4d53-9a7f-d7eaff3dbf25" -CertificateThumbprint "0719EE7234FCACB42875A0B7132C5FE376C0CE7B"

#List details on connection:
Write-Output "`nDetails of Microsoft Graph connection:`n"
Get-MgContext

# Verify current scope permission for MSI
Write-Output "`nDetails of Microsoft Graph scope:`n"
(get-mgcontext).scopes

# Get user details
Write-Output "`nDetails of Microsoft Graph user:`n"
Get-MgUser -UserId "sli@red929.com" | select DisplayName, UserPrincipalName, UserType, AccountEnabled
#######################################
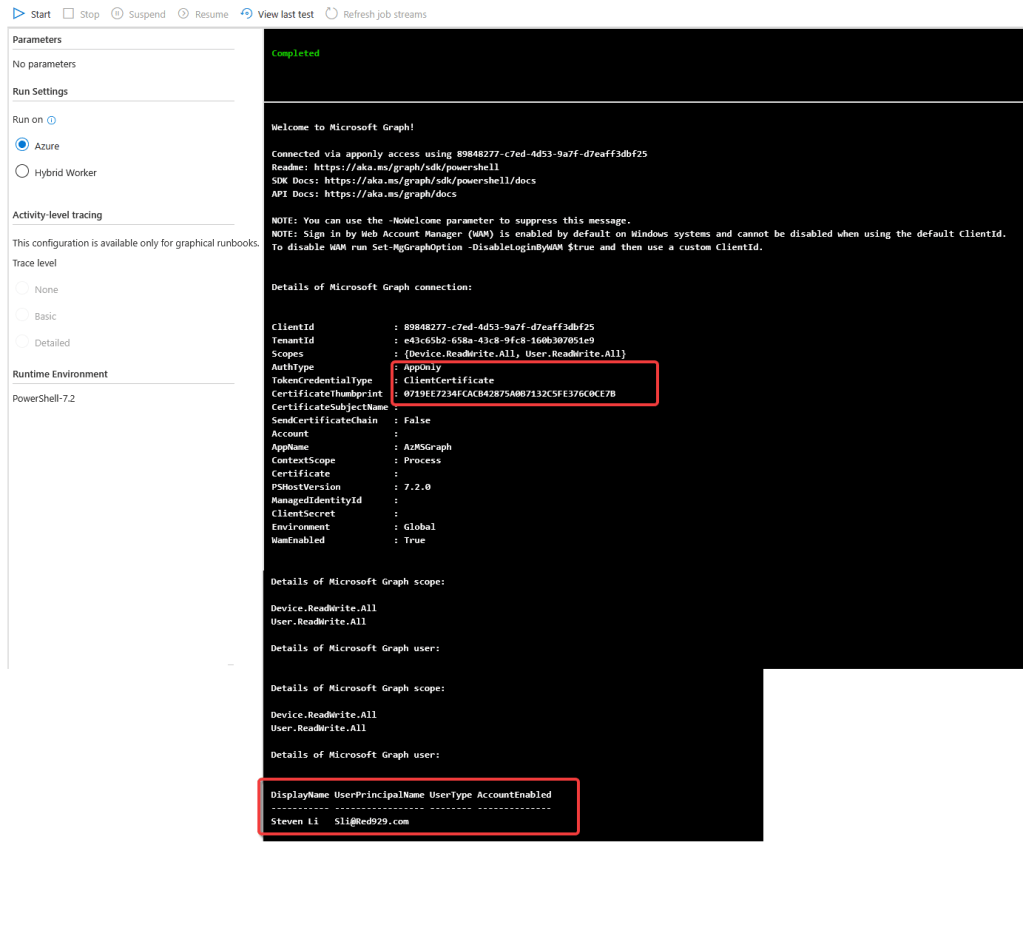
Notes:
If the private cert is NOT uploaded to the automation account, the following error will occur:
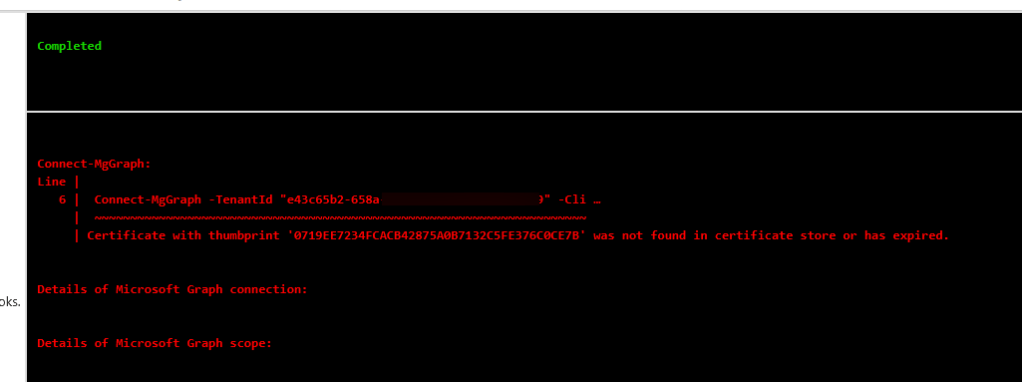
Connect-MgGraph: Entry point was not found:

Resolution: Restart the terminal session or VSC application then try again. Run it as admin.

