Office 365 Outlook Connector is a managed connector that allows you to automate workflows involving your Office 365 mailbox, calendar, and contacts. It acts as a bridge between your cloud-based logic app and your Office 365 account.
How it Works: The connector uses API connections to interact with Microsoft Graph. When you add an Office 365 action or trigger to your Logic App, you must authorize the connection using your Office 365 credentials (OAuth 2.0).
Use cases for the connector includes the addition of manager approval for new hire on boarding and notification via email if the account creation step errors out. For off-boarding, a notification email can also be sent out on who was terminated. Other use cases includes creating events, set up approval email, send email, etc…
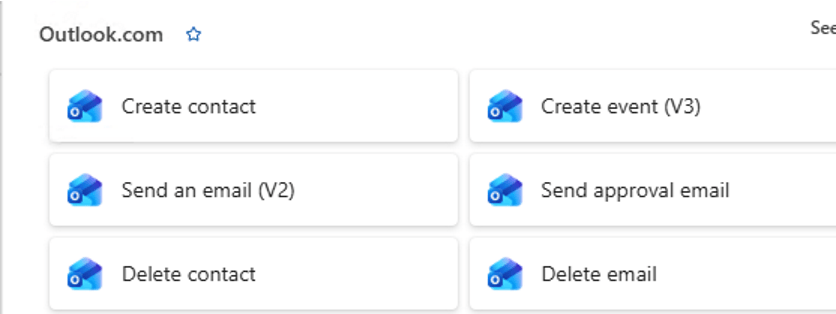
There is a second connector named [Outlook.com] meant for personal emails and does not require office 365 access.
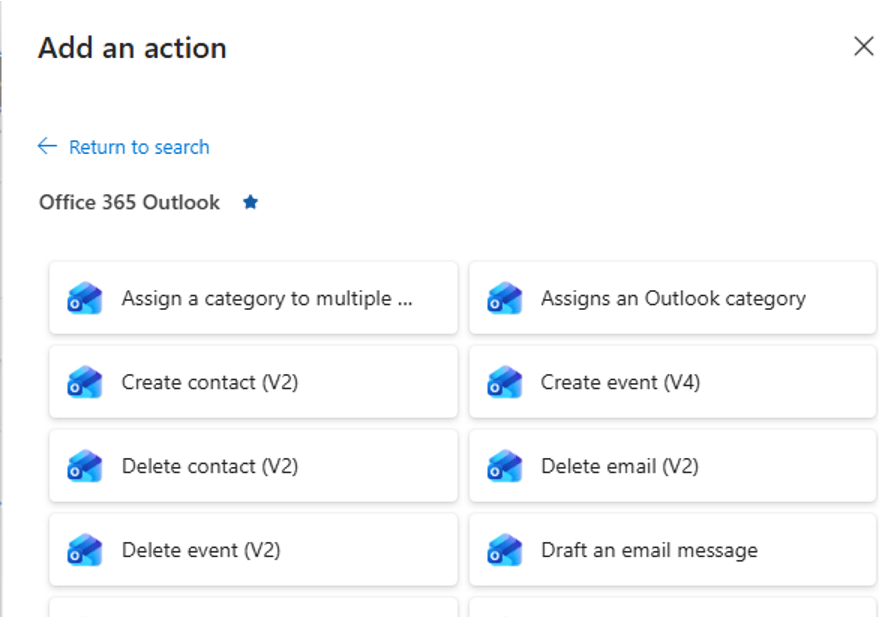
Overview of Outlook 365 connector

Scope & Account Restrictions:

• Works exclusively with work or school Microsoft accounts (e.g., @domain.com or @domain.onmicrosoft.com).
• Personal accounts (@outlook.com or @hotmail.com) are not supported by this connector and must use the separate Outlook.com connector instead.

Workflow Setup:

• Triggers: Used at the start of a workflow to monitor mailboxes or calendars via polling (e.g., When an upcoming event is starting soon or When a new email arrives).
• Actions: Used downstream in workflows to perform operations like Create contact, Send an email, or Update event.

Connection Lifespan:

• Connections created via OAuth 2.0 remain active and valid until explicitly revoked, even if the account password is changed.

Handling Multiple or Service Accounts:

• Addresses Single Sign-On (SSO) conflicts when attempting to connect an account different from the one logged into the Azure portal.
• Resolves this by granting the secondary account RBAC Contributor rights on the Logic App's resource group, or assigning Send As / Send on Behalf of mailbox permissions so a service account's address can be populated in the From (Send as) optional parameter.
Example (Send an Email v2)
In this example, the goal is to send out notification email using company address. The email account type will be a Microsoft 365 group that is mail enabled. Other group types can be used without license consumption as long as it is mail enabled.
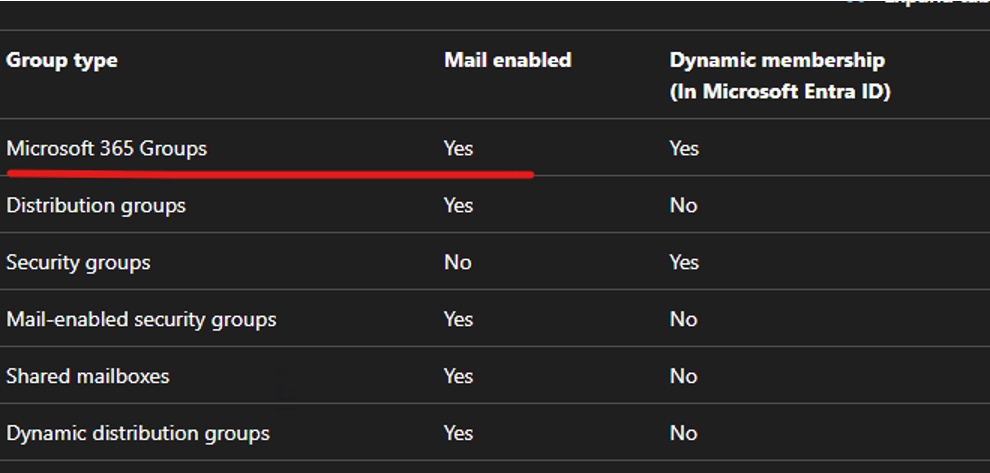
Microsoft 365 Groups are used for collaboration between users, both inside and outside your company. With each Microsoft 365 group, members get a group email and shared workspace for conversations, files, and calendar events, Stream, and a Planner. Microsoft 365 Groups can also be connected to Teams, Viva Engage, sharepoint, etc.
Create Microsoft 365 group:
Navigate to 365 admin center > groups > active groups > new “Microsoft 365 group”
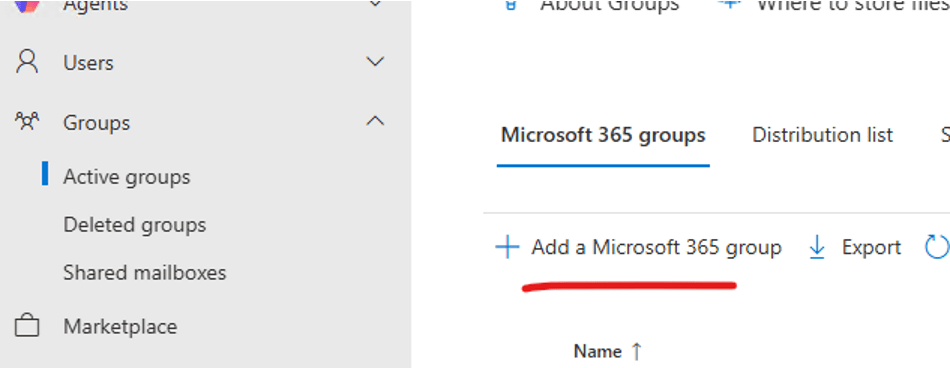
Create new M365 group
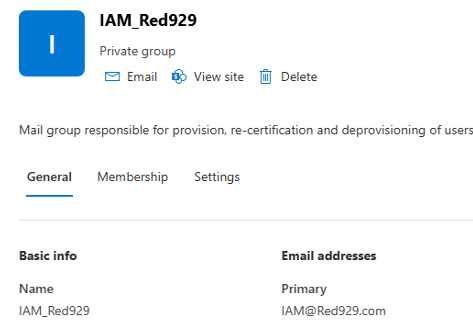
Name: IAM_Red929
Email: IAM@red929.com
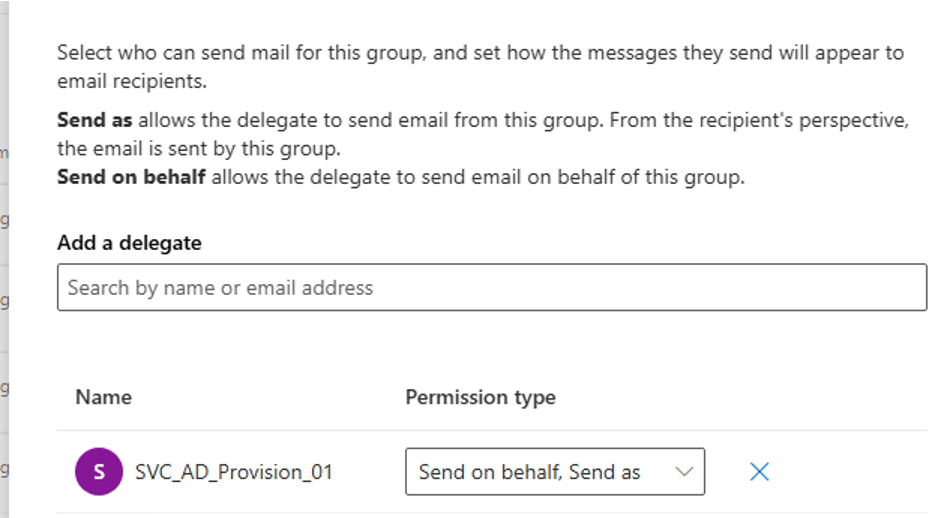
Modify M365 group delegate permission:
1. Exchange online admin center > groups > select “IAM_929” > settings > manage delegates
2. Add Service account rights to “send as” OR “Send on behalf” (The on premise service account used is SVC_AD_Provision_01)
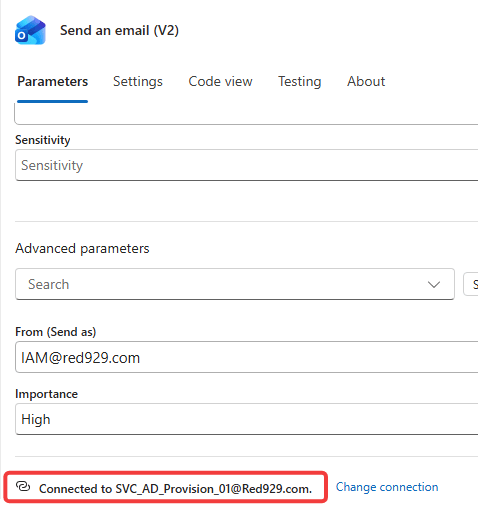
Add office 365 action (Send Email V2): (Note that the connection to the connector will be the service account “SVC_AD_Provision_01” that had its delegation right modified. Once connection is made, the “From” parameter should accept the M365 group address that was just created.)
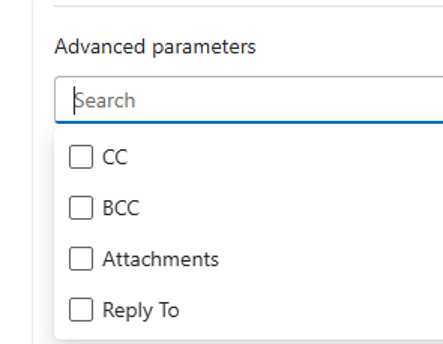
The action also supports the following:
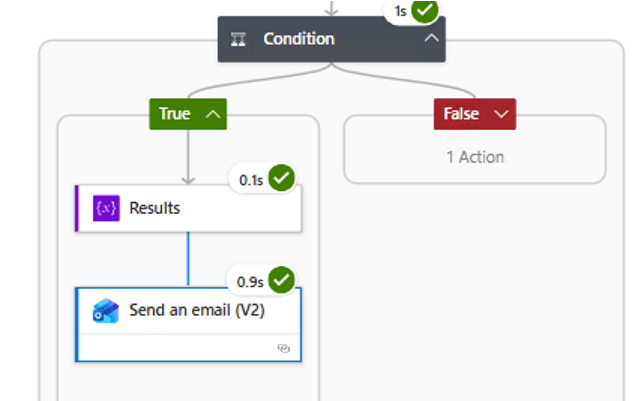
Verify email delivery:
- Check the spam folder if email does not come up.
- Ensure DNS records are setup and healthy for the domain under https://admin.cloud.microsoft/?#/Domains/Details
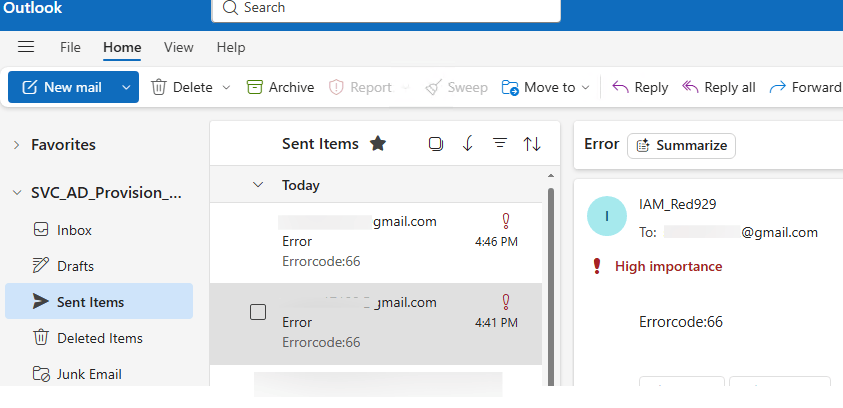
Sent from outlook: (From mailbox of “SVC_AD_Provision_01” as IAM_Red929)
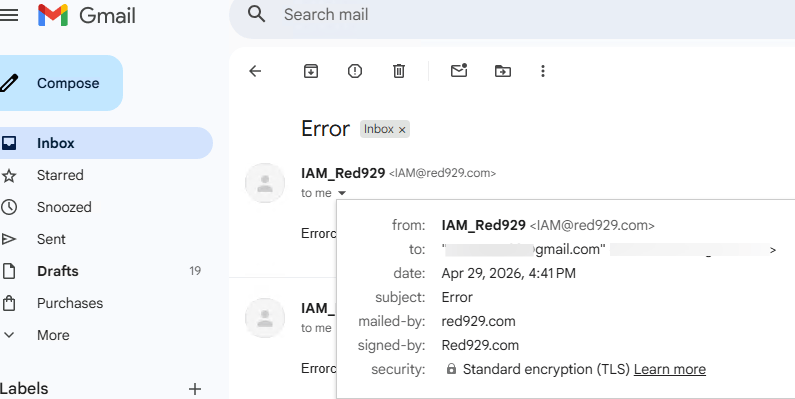
Received in Gmail: (Notification received in gmail with from address of IAM_Red929 (M365 group))
Example (Approval email):
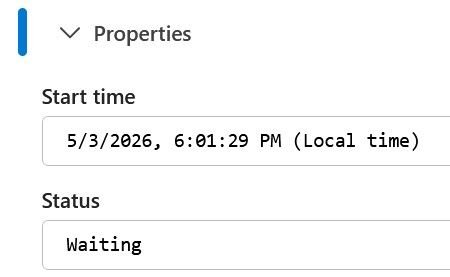
Send emails using approval email action. With approval, the workflow can only continue IF the email is approved. If no action is taken, the logic app workflow times out in 28 days. The Status will remain “waiting” until it gets approved or times out. The timeout period can be configured so it is not set in stone.
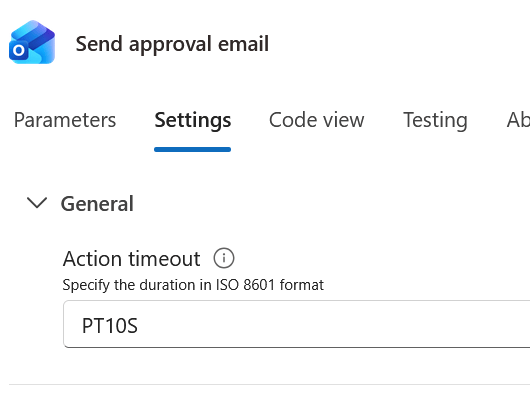
To configure timeout period: Go to settings on the action and set the value in ISO format. (Action timeout are calculated in ISO 8601 format (PnYnMnDTnHnMnS))
Example of 10 seconds – PT10S
Example of 1 day – PT1D
Is it possible to auto accept after a certain period?
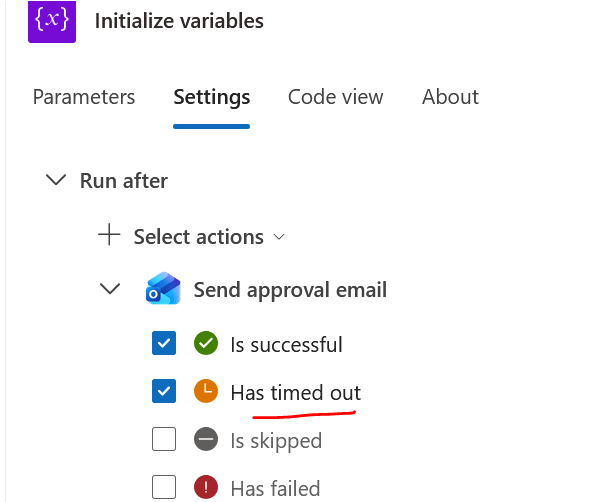
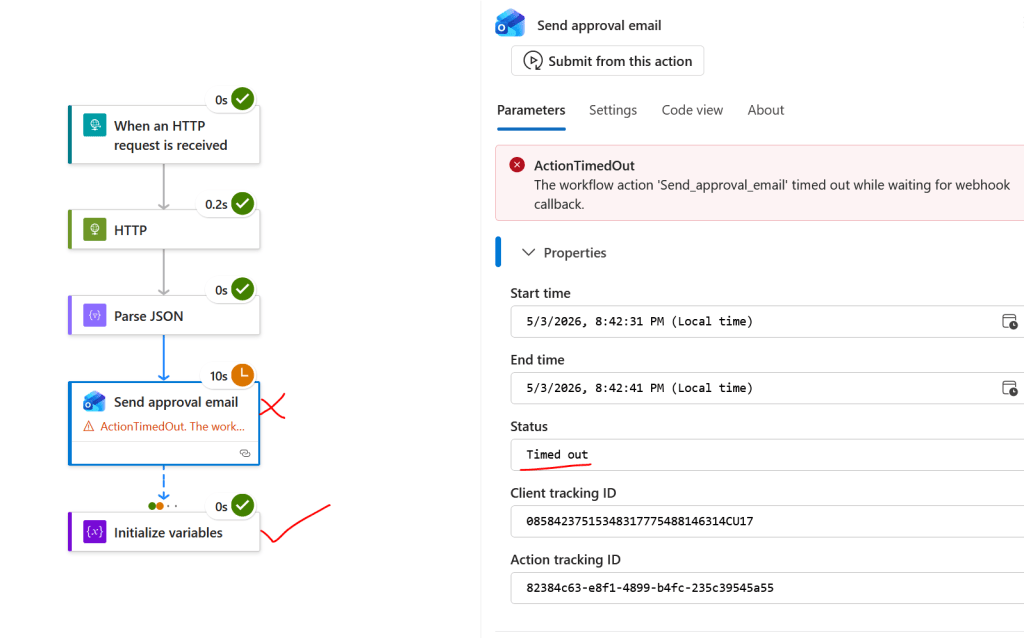
- It is possible to auto accept the approval email IF the action after [Send approval email] is set to run after timeout.
- If [Send approval email] times out, [Initialize variables] or any other action after will execute.
- However, IF [Send approval email] encounters is skipped or has failed, the workflow stops. (If the email was rejected)
Verify:
The [Send Approval Email] action times out after 10 seconds. The next action AFTER that will run since approval email settings are set to run post successful or timed out.
Notes:
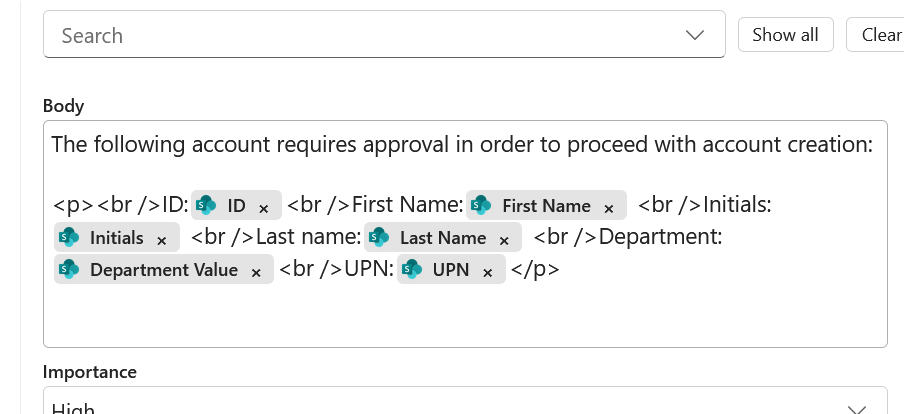
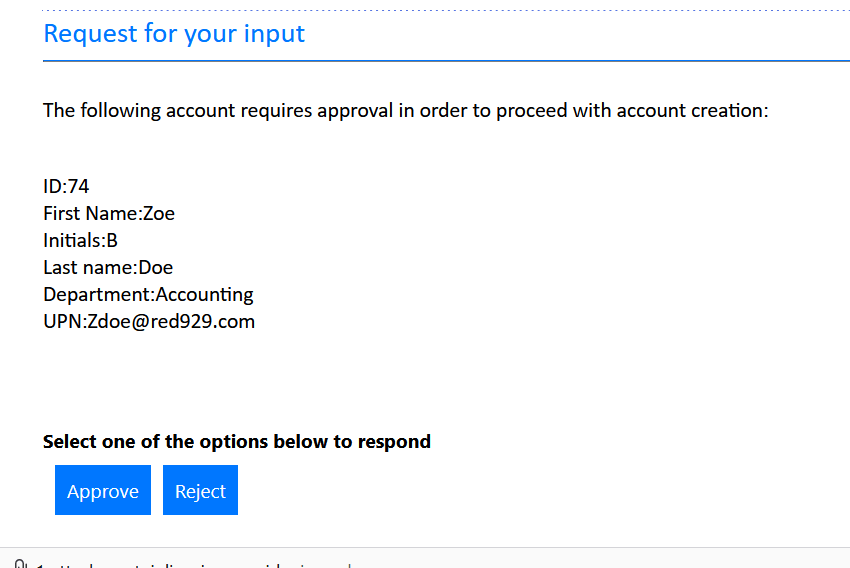
HTML is supported for the body to further expand customization.
Example:
<p><br />ID:<br />First Name: <br />Initials: <br />Last name: <br />Department:<br />UPN:</p>